How to choose the right sanding belt for your wide belt sander?
Introduction
Importance of Choosing the Right Sanding Belt: The right sanding belt for your wide belt sander is crucial for achieving the best finish on your woodworking projects. The right belt can greatly impact the quality and efficiency of your work.
Purpose of the Article: This article aims to guide readers in choosing the sanding belt for their needs. It provides essential information and tips to help you make an informed decision.
Benefits of Using the Correct Sanding Belt: Using the correct sanding belt improves sanding efficiency, ensures superior finish quality, and prolongs the lifespan of your equipment, enhancing your overall sanding process and project outcomes.
1. Understanding Sanding Belts and Belt Sanders
What is a Sanding Belt?
- Definition and Basic Components:
A sanding belt is a piece of material and an abrasive that is mounted in different sanding machines for sanding. It is a belt made of sandpaper that is tensioned and rotated with the help of rollers to level or smoothen substances like wood, metal, or plastics.
A Sanding belt has the backing material, abrasive grains, and adhesive bond that acts as a bond between the backing material for the abrasive grains.
- Materials Used in Sanding Belts:
- Aluminum Oxide:Usually, applied to wooden as well as metal products, specifically since it is considered to be highly withstand wear and can be used for innumerable applications.
- Zirconia Alumina: Recommended for rough cutting and cutting through thick materials because of its hardness.
- Ceramic: Suitable for cutting hard materials and their cutting edges have a longer life and stable performance.
- Silicon Carbide: They are employed on non-ferrous metals, glass, and plastics, and provide sharp edges and quick cutting.
What is a Wide Belt Sander?
- Definition and Applications:
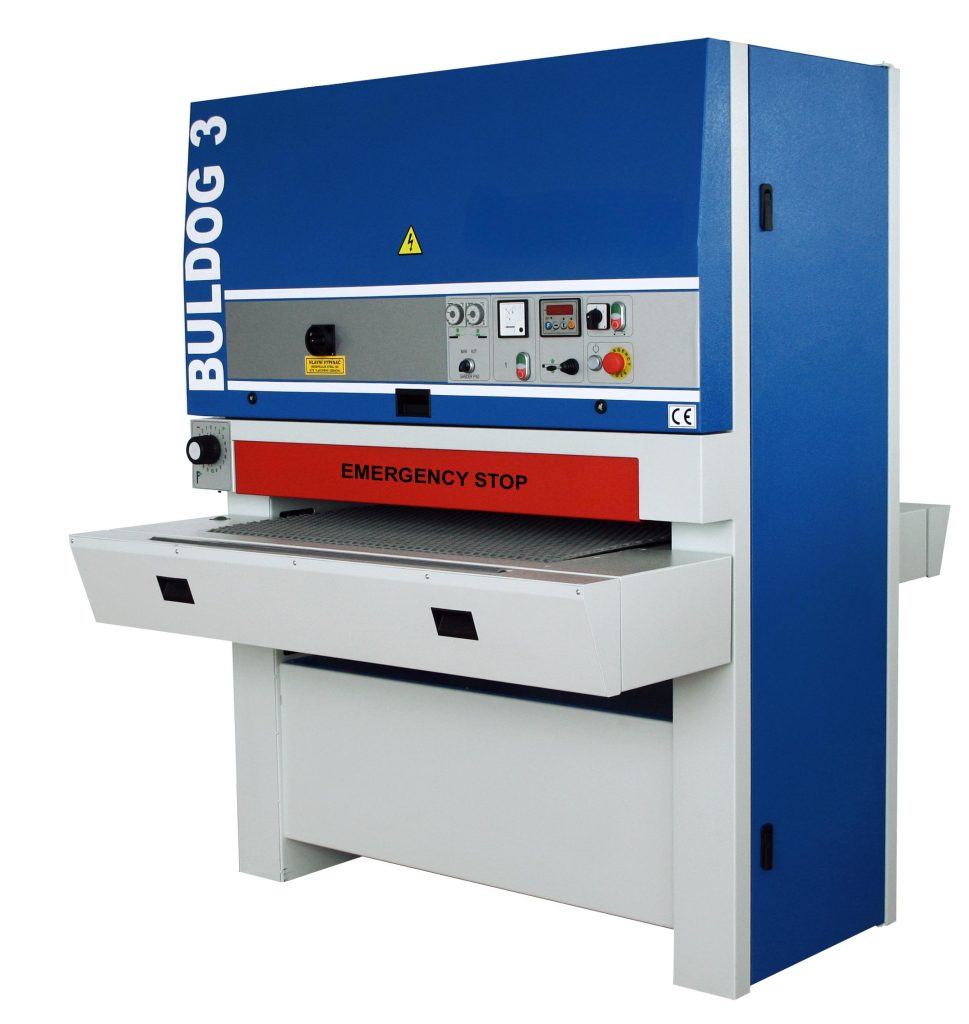
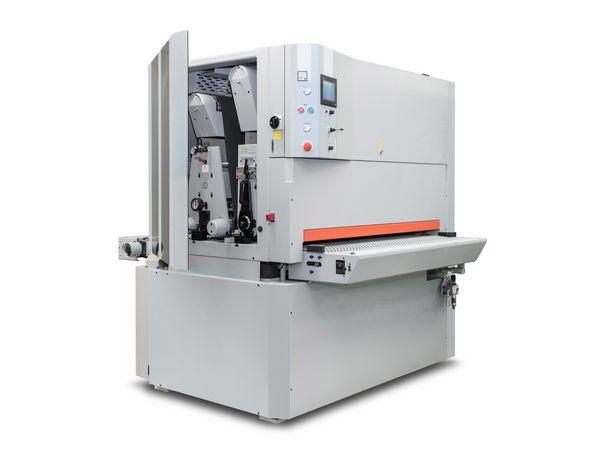
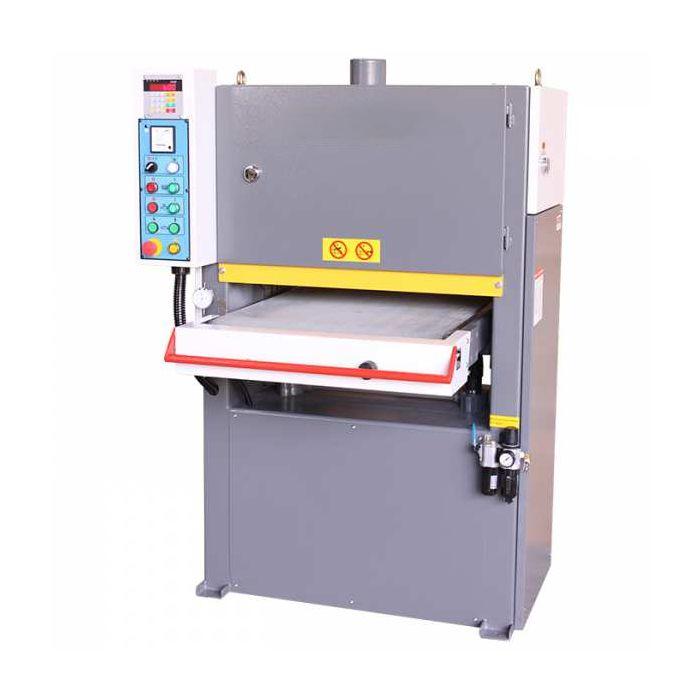
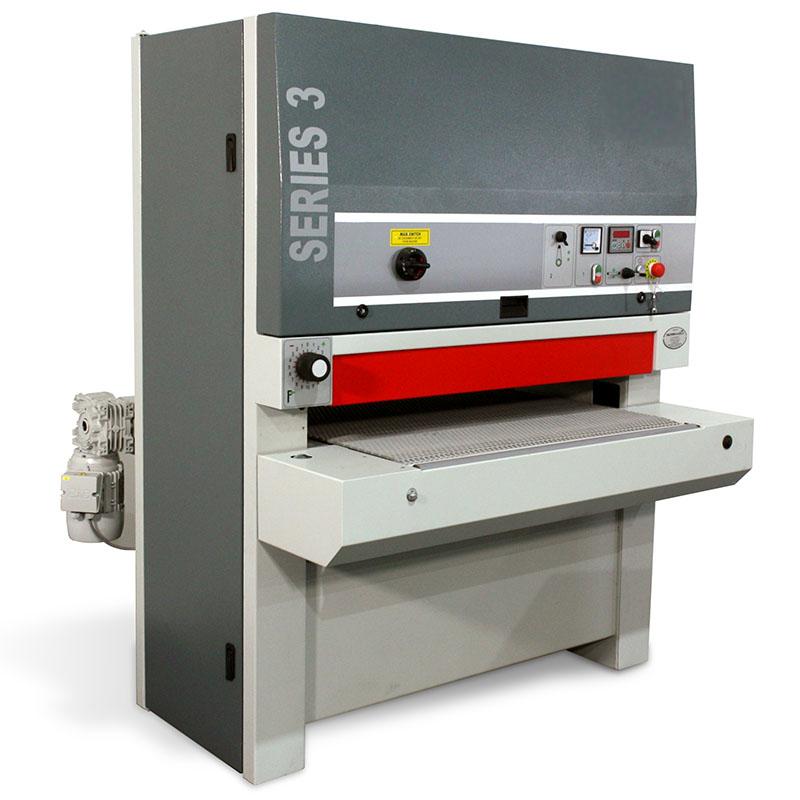
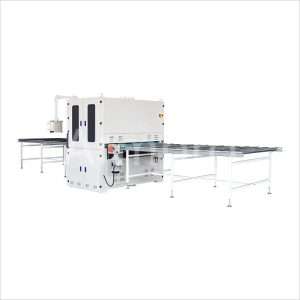
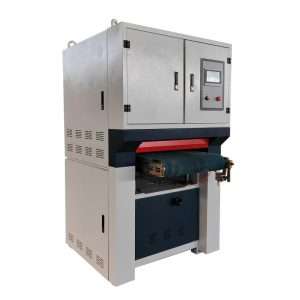
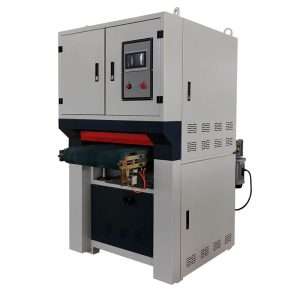
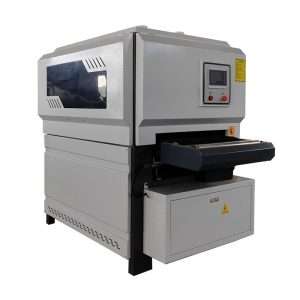
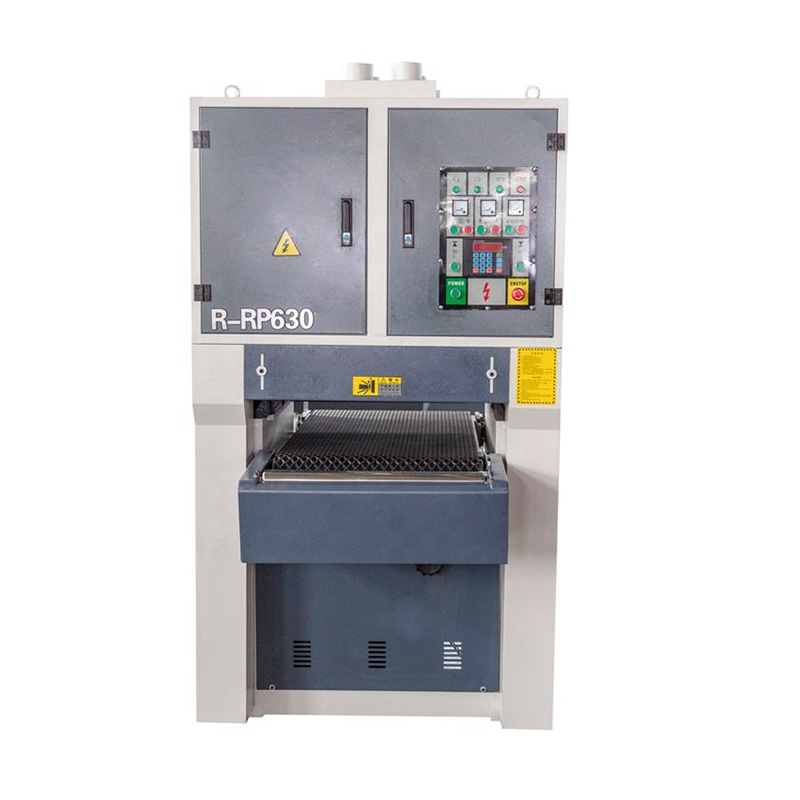
A wide belt sander is a powerful machine used in woodworking and metalworking to sand large, flat surfaces quickly and evenly. It features a wide sanding belt that moves continuously over the surface to remove material and create a smooth finish.
- Common applications include:
- Woodworking:Flattening and smoothing wooden panels, preparing surfaces for finishing, and refining edges and joints.
- Metalworking: Smoothing metal surfaces, preparing for coating or painting, and refining welded joints.
- Importance of Using the Right Sanding Belt:
Using the appropriate sanding belt with a wide belt sander is crucial to achieving optimal results. The right belt enhances efficiency, ensures a high-quality finish, and prolongs the life of both the belt and the sander. Selecting a belt suited to the material and desired outcome can prevent issues like overheating, uneven sanding, and premature wear.
2. Matching the Sanding Belt to Your Project
Woodworking Projects
- Selecting Sanding Belts for Various Woodworking Tasks:
- Rough Sanding: When choosing the appropriate belt, coarse gritwoodworking sanding belts, (40-60) are used for the first shave or to rough shape the wood. Suitable for the first steps in sanding.
- Intermediate Sanding: Coarser abrasives or medium grit belts within the range of 80-120 should be used to level out dents and scratches and ready the wood for varnish or paint.
- Finishing: The fine grit belts (150-220 grit and above) give a finer finish, as smooth as the wood, for staining or sealing.
- Importance of Using the Right Grit Size and Abrasive Material:
- Soft Woods (e.g., Pine, Cedar):Select aluminum oxide belts for lasting, and efficient sanding.
- Hard Woods (e.g., Oak, Maple): Zirconia alumina belts are even better for the harder woods than steel ones when it is tighter.
- Exotic Woods: Ceramic belts have high dress rates of a lifetime, and they are suitable for the density and hardness densities of exotic woods.
Metalworking Projects
- Selecting Sanding Belts for Metalworking Tasks:
- Deburring: Coarse grit metalworking sanding belts(40-60 grit) quickly remove burrs and rough edges from metal parts.
- Surface Preparation: Medium grit belts (80-120 grit) prepare metal surfaces for painting or coating by removing minor imperfections.
- Finishing: Fine grit belts (150-220 grit and above) create a smooth, polished surface suitable for final finishing or decorative purposes.
- Importance of Using the Right Abrasive Material and Grit Size:
- Steel and Ferrous Metals: Zirconia alumina or ceramic belts are durable and efficient for these tough materials.
- Aluminum and Non-Ferrous Metals: Silicon carbide belts are sharp and fast-cutting, ideal for softer metals.
- Stainless Steel: Ceramic belts provide a long-lasting, consistent finish on this hard, durable material.
Specialty Applications
- Selecting Sanding Belts for Specialty Applications:
- Sanding Painted Surfaces: Employ slim and narrow belts with a fine-grit range of 180-220 with silicon carbide or aluminum oxide abrasive in order not to harm the base material.
- Removing Rust: Coarser ones, of 40-60 grits, with aluminum oxide or zirconia alumina abrasive, are ideal to remove rust and ready the area for other processes.
- Working with Composites: Beryllium and silicon carbide paper from 80-220 grits with a fine grain composite give a good final finish which does not harm the composites.
3. Tips for Maintaining and Extending the Life of Your Sanding Belt
Proper Installation
- Step-by-Step Guide for Installation:
- Turn Off and Unplug the Sander:Ensure the sanding belt types is completely powered off and unplugged to avoid any accidents.
- Release Tension:Locate the tension release lever on the sander and disengage it to release the tension on the current belt.
- Remove the Old Belt:Carefully slide the old belt off the rollers.
- Inspect the Rollers:Check the rollers for any debris or damage and clean them if necessary.
- Install the New Belt:Slide the new sanding belt maintenance onto the rollers, ensuring it is centered and aligned correctly.
- Reapply Tension:Reengage the tension lever to tighten the belt onto the rollers.
- Track the Belt:Turn on the sander at a low speed and adjust the tracking controls to ensure the belt runs straight and stays centered.
- Common Mistakes to Avoid:
- Incorrect Tension:Applying too much or too little tension can cause the belt to slip or break.
- Misalignment:Failing to align the belt properly can lead to uneven wear and poor sanding results.
- Ignoring Roller Maintenance:Dirty or damaged rollers can affect belt performance and lifespan.
Regular Maintenance
- Tips for Regular Maintenance:
- Clean the Belt:A cleaning stick or abrasive belt cleaner to be used often to help in clearing strictly debris and resin attached to the sanding belt.
- Inspect for Wear:This should be done at least once in a while especially if you realize the belt is worn out or damaged.
- Lubricate Moving Parts:Regularly check the various bits of the sander because this keeps the moving parts well-oiled and hence does not exert pressure on the belt.
- Check Tension and Tracking:Always bend the puppies and take the tension and tracking of the belt to ensure it rolls one hundred percent without strain.
- Importance of Cleaning:
- Prevents Clogging:This is important to ensure that the abrasive grains are not stuck thus ensuring effective sanding activities all the time.
- Reduces Wear:The belts are clean, which reduces friction and the heat affecting the belt, so they last longer and the quality of the finished goods is better.
Storage Tips
- Best Practices for Storing Sanding Belts:
- Keep in Original Packaging:Store sanding belts in their original packaging to protect them from dust and damage.
- Avoid Extreme Conditions:Store belts in a cool, dry place away from direct sunlight and moisture.
- Hang or Lay Flat:Store belts by hanging them or laying them flat to prevent warping or bending.
- Importance of Proper Storage:
- Maintains Integrity: Proper storage conditions prevent the abrasive grains and adhesive bond from degrading.
- Prevents Damage: Keeping belts in a clean environment protects them from contamination and physical damage, ensuring they are ready for use when needed.
Conclusion
Choosing the right sanding belt for your wide belt sander will prove highly critical to the success of your projects. That is why this guide has also focused on such topics as a selection of the correct grit and abrasive material, correct installation, and further proper maintenance of the disc.
Applying these concepts will enable you to improve the sanding performance and the result of a piece of work in the shortest time feasible and with minimal wastage of resources through equipment malfunction.
Don't forget to share this post!
Related Products
CONTACT US
Tell us your raw material and working details to get quotations within 24 hours.
WhatsApp Us: +86 159 27 555863

Want the best price & newest metal working machinery buying guide,tips and trends sent straightly to your box?Sign up for Armpro's monthly newsletter,we're free for your consultation and Offer you the most suitable working solutions!
The Buyer's Guide
- Tapping Machine: The Ultimate Buying Guide in 2024
- Electric Tapping Machines:the Ultimate Buying Guide in 2024
- Drilling Machine: The Ultimate Buying Guide in 2024
- Drilling milling Machine:The Ultimate Buying Guide in 2024
- CNC Tapping Machine :The Complete Buying Guide in 2024
- Pipe chafering Machine:The Complete Importing Guide in 2024
- Radial drilling Machine:The Complete Buying Guide in 2024
- Thread rolling Machine:The Complete Buying Guide In 2024
- Pillar Drilling Machine:The Ultimate Buying Guide in 2024
