HOW TO USE A BELT SANDER: THE COMPLETE GUIDE
Introduction
Imagine how satisfying it is to transform rough, uneven surfaces into smooth, polished ones. That's what a belt sander can do for you. This tool is incredibly helpful in any workshop whether you’re working with wood or metal. In this guide, we’ll show you how to use a belt sander effectively, so you can achieve professional results every time. With the right techniques, you will be able to complete projects more quickly and with greater quality.
1、Understanding Belt Sanders
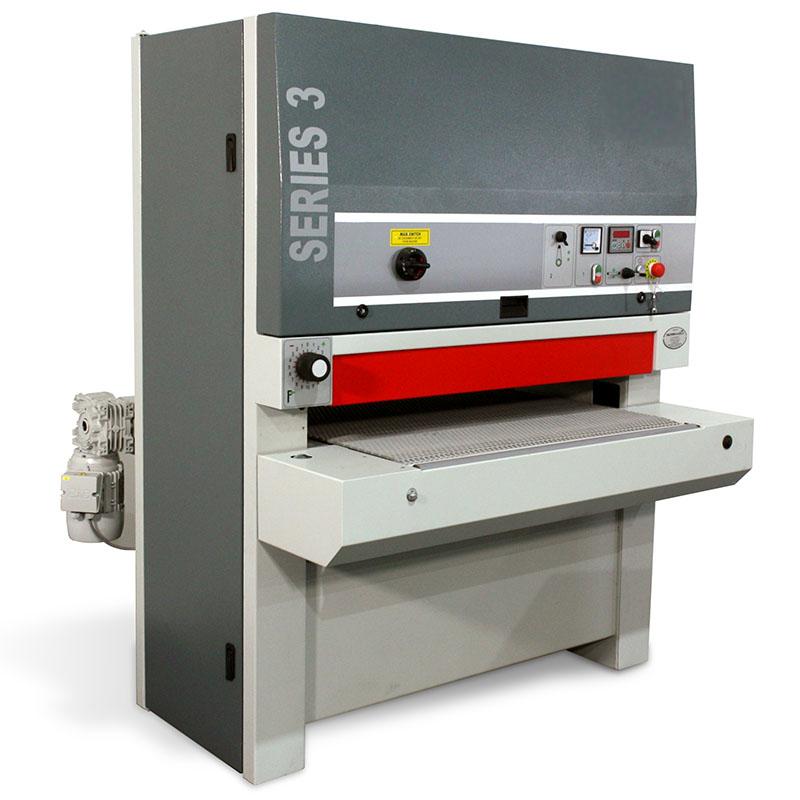
A belt sander is a powerful tool used for sanding down surfaces to create a smooth finish on them. It is built using a motor that rotates a sanding belt, a continuous loop of sandpaper, over two rollers. This tool is useful for removing material from large, flat surfaces quickly. Belt sanders come in several varieties and are used for various tasks. The circular sanding machine is great for curved surfaces and the wide belt sander ideal for large, flat areas.
2、Step-by-Step Guide to Using a belt Sander
Understanding how to use a belt sander safely and properly is essential before beginning any project. Whether you’re new to using this tool or just need a refresher, following the right steps will help you achieve the best results while avoiding common mistakes. To maximize the performance of your belt sander and tackle your projects with confidence, let's walk through the step-by-Step guidance of using a sanding belt.
Step 1: Attach the Sanding Belt
First, make sure the sander is unplugged for safety. Then attach the belt sander to the sanding belt. To release the rollers keeping the belt in place, find the release lever or knob on the sander. Next check whether the sanding belt is centered and in line with the sander's guidelines. If it is configured properly, slide the sanding belt onto the rollers. Once the belt is in place, retighten the lever or knob to secure the belt.
To get the intended surface finish choosing the appropriate grit for the sanding belt is essential. Coarser grits, such as 40 or 60 are good for quick material removal or rough sanding. As well as finer grits, such as 120 or 220 are good for getting a smoother finish. When choosing the grit, match it with the specific requirements of the job.
Step 2: Prepare the Workpiece
Before starting sanding, the workpiece must be properly prepared. First, vice or clamps should be used to secure it to a stable surface. This prevents the workpiece from moving while sanding and keeps the workpiece stable. As a result, a more uniform and controlled finish can be obtained.
Next the workpiece should be cleaned. It avoids interference with the sanding process and allows the sanding belt to make stable contact with the material. Therefore, the sanding process will be more efficient and smoother.
Step 3: Start the Sander
Once the workpiece is ready and the sanding belt is in place, the belt sander can be started. Before contacting the workpiece, the sander should be turned on and allowed to run at full speed. Because starting the sander on the surface can lead to an uneven sanding or create gouges in the material.
It is necessary to keep a firm, steady grasp on the tool with both hands while operating the sander. It will help you maintain full control throughout the sanding process. When moving the sander across the surface, apply even pressure and keep a consistent speed. By doing this, you may prevent over-sanding in one spot and guarantee a uniformly smooth surface throughout the workpiece.
Step 4: Sanding the Surface
To get a smooth, even finish, it's important to use the proper technique here. This process can be started by moving the sander across the surface with light, steady pressure. Because too much pressure can cause excessive material removal or damage.
To evenly sand the entire area, use overlapping, straight line or circular motions with the sander. Moving consistently keeps the sander from spending too much time in one area, which can cause gouges or uneven sanding.
The sander flat should be always kept against the surface to maintain even contact. Additionally, avoid tilting the sander as this may result in uneven sanding and leave visible marks on the material. You can accomplish a smooth, professional finish by following this procedure.
Step 5: Check Progress and Change Grits
It's important to periodically stop and assess the progress of the work while sanding. To ensure you're getting the desired results, visually inspect and run your palm over the surface to gauge how smooth it is. It might be necessary to continue with the current grit for a little while longer if the surface still feels uneven or rough.
You can switch to a finer grit sanding belt if you're happy with the initial sanding. To ensure safety, the sander should be turned off and unplugged first. Then you can replace the belt with a finer grit. A smooth, polished finish can be achieved by refining the surface with finer grits after starting with a coarser grit to remove material fast. Continue sanding using the finer grit until the desired level of smoothness is achieved.
Step 6: Finish the Sanding
The finest grit sanding belt should be used to finish the sanding procedure. This is the last step, which is essential for achieving a smooth, even finish on your workpiece. The entire area of the workpiece should be gently and evenly sanding with light pressure. The fine grit will help to remove any last rough places and polish the project.
After finishing the sanding, the workpiece should be cleaned thoroughly. To get rid of any remaining dust or debris, use a vacuum or a soft cloth to wipe the surface off. Getting the surface clean helps you get a professional look and guarantees that it is prepared for any additional finishing stages, such as painting or staining.
Conclusion
This article discussed the fundamentals of using a belt sander, from comprehending its design to finishing the last sanding stage. It has provided guidance on how to prepare the workpiece, install the sanding belt correctly, and utilize the right procedures to get a smooth, polished finish. Moreover, the article has explained the significance of monitoring the progress of the work on a regular basis and switching to finer grits as necessary.
To get the greatest results and to ensure your safety, you must use a belt sander appropriately. Following the instructions and applying the right techniques will lead you to achieve them. However, whether you are a beginner or an experienced woodworker, this article will really help you become an expert in using belt sanders.
Don't forget to share this post!
Related Products
CONTACT US
Tell us your raw material and working details to get quotations within 24 hours.
WhatsApp Us: +86 159 27 555863

Want the best price & newest metal working machinery buying guide,tips and trends sent straightly to your box?Sign up for Armpro's monthly newsletter,we're free for your consultation and Offer you the most suitable working solutions!
The Buyer's Guide
- Tapping Machine: The Ultimate Buying Guide in 2024
- Electric Tapping Machines:the Ultimate Buying Guide in 2024
- Drilling Machine: The Ultimate Buying Guide in 2024
- Drilling milling Machine:The Ultimate Buying Guide in 2024
- CNC Tapping Machine :The Complete Buying Guide in 2024
- Pipe chafering Machine:The Complete Importing Guide in 2024
- Radial drilling Machine:The Complete Buying Guide in 2024
- Thread rolling Machine:The Complete Buying Guide In 2024
- Pillar Drilling Machine:The Ultimate Buying Guide in 2024


